 how-to
How to Document Construction Progress Before Drywall
Last Updated: October 26, 2026
Quick Summary
To document construction progress before drywall, photograph concealed systems after rough-in and inspections but before insulation and drywall close the walls. Capture framing, plumbing, electrical, HVAC, insulation, and blocking room by room, then organize images by room and date with references on your floor plan.
- Time your visit once rough-in is done and inspections are signed off, before insulation and drywall go up.
- Stand in each doorway and shoot the whole wall straight on, then take a close pass for details.
- Name files with room, wall, and date, such as Kitchen_NorthWall_2026-10-26.
- Add a tape measure or reference object in key shots so future contractors can judge distance.
- Photo documentation complements, and does not replace, the inspections your building department requires.
Table of Contents
- What to Photograph Before Drywall Covers the Work
- Your Pre-Drywall Walkthrough Checklist
- Organizing Construction Photos by Room and Date
- Frequently Asked Questions
What to Photograph Before Drywall Covers the Work
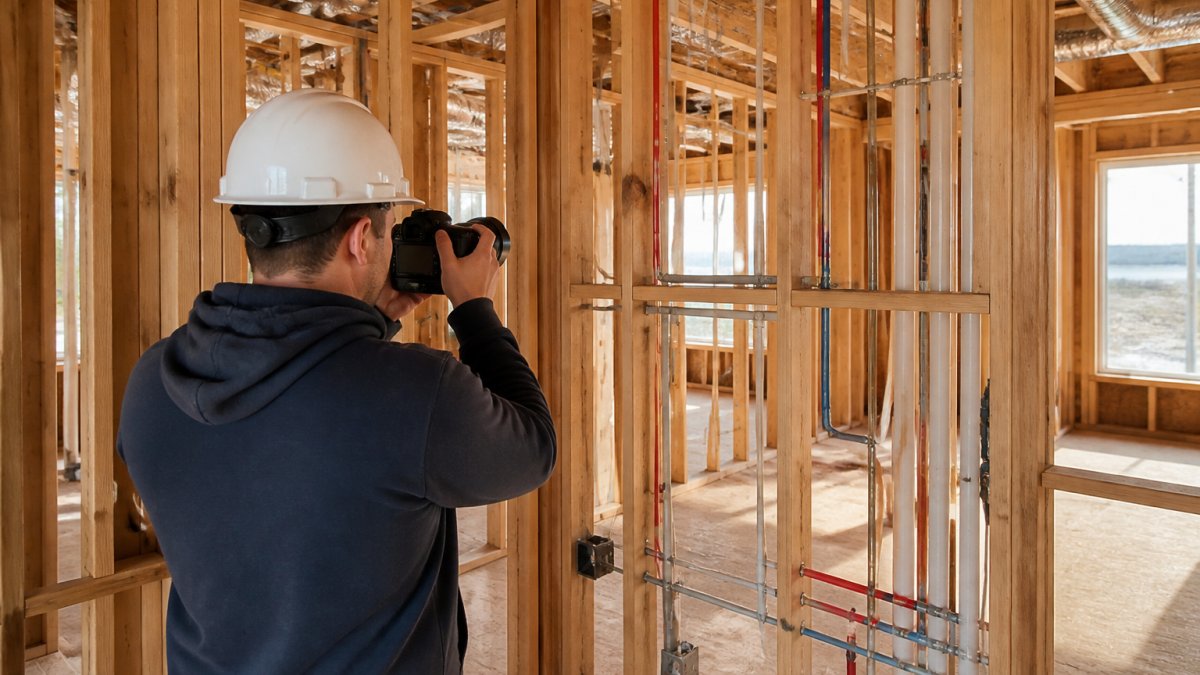
Learning how to document construction progress before drywall goes up starts with one idea: photograph what will soon be hidden. At West Michigan Aerial Documentation LLC, we walk homes and additions along the Lakeshore while walls are open, capturing framing, wiring, plumbing, ducts, and blocking. See how our room-by-room pre-drywall documentation service preserves exposed systems before insulation and drywall hide them.
Pre-drywall documentation means photographing concealed systems after rough-in and inspections but before insulation and drywall close the walls. It creates a permanent visual record for future repairs, additions, and remodeling, and complements, not replaces, the inspections your building department requires.
Framing and wall layout
- Wall positions, room divisions, corners, door and window openings
- Ceiling framing and blocking for future fixtures
Plumbing
- Supply and drain lines, shutoff valves, and fixture rough-ins
Electrical
- Outlets, switches, junction boxes, panel details, and wire runs
HVAC
- Ductwork routes, vents, and equipment locations
Insulation and blocking
- Insulation type and placement before it is covered
- Blocking for cabinets, grab bars, or TVs
Stand in each doorway and shoot the whole wall straight on, then take a close pass for details.
Here is what to capture while the walls are still open.
Request a Flight or construction photography inside and out even in the air →
| System | What to photograph |
|---|---|
| Framing and wall layout | Wall positions, room divisions, corners, door and window openings |
| Framing and wall layout | Ceiling framing and blocking for future fixtures |
| Plumbing | Supply and drain lines, shutoff valves, fixture rough-ins |
| Electrical | Outlets, switches, junction boxes, panel details, wire runs |
| HVAC | Ductwork routes, vents, equipment locations |
| Insulation and blocking | Insulation type and placement before it is covered |
| Insulation and blocking | Blocking for cabinets, grab bars, or TVs |
Your Pre-Drywall Walkthrough Checklist
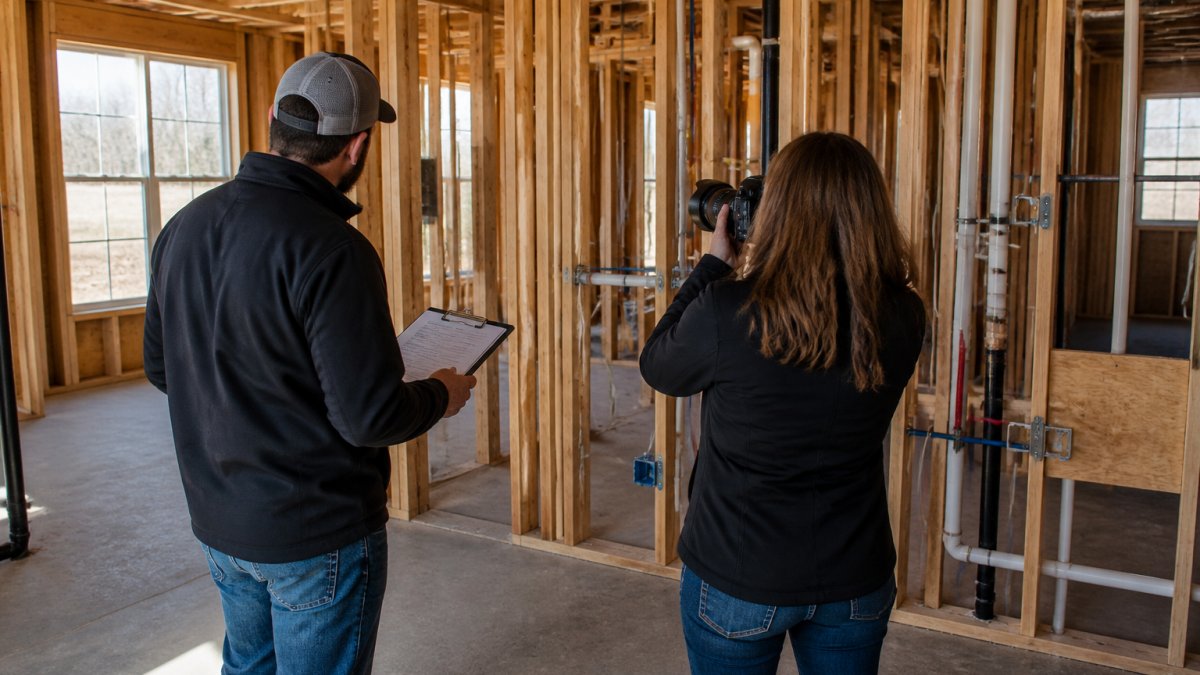
Time your visit with your builder once rough-in is done and inspections are signed off, but before insulation and drywall go up. For a practical starting point, read what's worth documenting before the walls close.
- Confirm the date with the builder and note it on every file
- Bring the floor plan and label each room before you shoot
- Photograph each wall straight on, wide, then close
- Capture outlets, switches, panel details, supply lines, drains, shutoff valves, ductwork, vents, equipment, blocking, and insulation
- Add a tape measure or reference object in key shots
- Flag anything that looks off to the supervisor
If a photo shows a problem, tell the builder right away, while the wall is still open.
Organizing Construction Photos by Room and Date
Organize by room, then date, and tie each set to the floor plan. Name files with room, wall, and date: Kitchen_NorthWall_2026-10-26.
A tape measure in the frame or a labeled reference point lets a future contractor judge distance without guessing. A slow walk-through video captures how rooms connect, and a marked-up floor plan shows where each photo was taken.
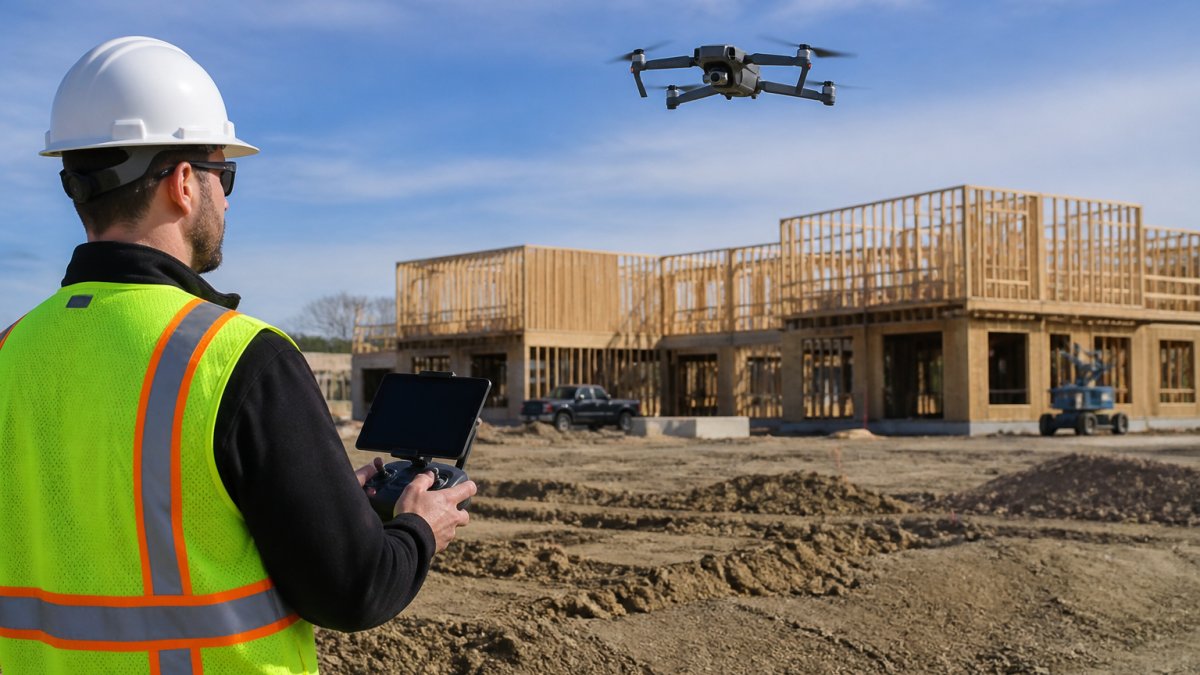
Aerial progress photography complements all of it. Learn how to plan interior and aerial milestones so everything stays organized into one useful record. Flights from the same position each visit show how the whole site changes over time. See how aerial documentation at every milestone complements the interior record. Inside and out, the two records tell one story.
Builders and remodelers get clear homeowner updates and an organized handover record at closeout. Homeowners get a reference for repairs, additions, and future remodeling, plus a memory of a major investment.
Ready to document construction progress on your project? Plan your aerial and interior documentation with WEMAD and request a quote. Request a WEMAD documentation quote today.
Frequently Asked Questions
When should you take photos before drywall is installed?
Schedule the visit after rough-in work is complete and before insulation and drywall go up. That window is when framing, electrical wiring, plumbing, and HVAC are all visible at once. Coordinate the timing with your builder so the walkthrough does not interfere with inspections or trade schedules. Once drywall is hung, those details are sealed away, so plan the visit early in the build.
Does a pre-drywall photo record replace a required inspection?
No. Photo documentation complements required inspections but does not replace them. Local code inspections verify that work meets adopted standards, and only the authority having jurisdiction can sign off. Your photos serve a different purpose: they create a visual reference for future repairs, remodeling, and maintenance. Keep inspection reports and your photo records together for a complete project file.
How do pre-drywall photos help with future repairs and remodeling?
When a wall needs a repair or you plan an addition, photos show exactly where wires, pipes, and blocking sit behind the drywall. That reduces guesswork and helps contractors avoid cutting into concealed lines. Organized images filed by room and date make the record easy to find years later. For homeowners, the photos also preserve a record of the build and document a major investment.
Ready to plan documentation for your own project? Request a WEMAD documentation quote and we will map out interior and aerial coverage for your build, from open walls to final walkthrough.